Northword Storytagging Project.
I have absolutely loved taking part in the Northword Storytagging project – it gave me an excuse to explore, to research, to play. These things shouldn’t need ‘excusing’ but when you’re developing an artistic practice and trying to get a small business going, sometimes it’s easy to forget these things, or put them off for more urgent tasks.
Containing just under 20,000 beads (most of which are 1.6mm by 1.6mm in size), the piece is 30cm x 20cm x 20cm and is by far the biggest beaded piece I’ve ever made, and really my first foray into sculptural pieces – something I’m excited to push and develop further.
Below is an outline of my initial plans, and how I developed them into my final piece - a sort of digital sketchbook charting my journey through this project.

My story is based on how the mining of Strontium formed the community of Strontian. I’m a jeweller and small beadworker (based in Strontian) so my piece will be a sculpture made from beads that hopefully tells the story.
I’m so excited to be able to use beads in a sculptural way, and it feels even more important to be telling the story of where I live. Having trained in gemmology, I’m fascinated by geological landscapes and the discovery of Strontium is something I’m very keen to learn more about. How incredible that all this happened less than 5 miles from my doorstep!
A unit cell of Strontium Carbonate
-

-

Visiting the Strontium Mines
I started with a trip to some of the mines, to see where the Strontium came from.
-

Toothpaste Samples
-

Sample 1
Strontium Carbonate is used in toothpaste and my initial idea is to create my molecule using as many ‘products’ that contain it as possible. I started with Peyote stitch using cylinder beads in a stripes pattern. It was effective but not very realistic at all.
-

Sample 2
Still using Peyote stitch, I added size 8 seed beads in with the size 11 cylinder beads to see if I could get a more varied shape. Its too happy though, I wanted a smoother transition
-

Sample 3
This time I used size 15 and size 11 cylinder beads - varying the sizes but not the shape. It was far too subtle, but I did like the colour combinations of this one more.
-

Sample 4
This one was made using size 15 seed beads and size 11 cylinder beads. Again, I like the colour combinations but I’m not sure the size difference is going to show - I think the stitch used is part of the problem.
-
Sample 5
These are made using Flat Diagonal Cellini Peyote stitch (taught to me by Cath Thomas), using size 8 seed beads, size 11 cylinder beads and size 15 seed beads
Sample 5.1 - not enough red
Sample 5.2 - too uneven colour wise
Sample 5.3 - the ratio is right, but the shades of red might not be
-

Sample 6 (in progress)
I’m not sure the blue colouring is right, but when the two are wound round each other hopefully the ratios of colour will work
-

Sample 7
I tried herringbone stitch, as this was the only other option I’d initially thought of and I wanted to check all options. They all look too ‘peely-wally’ - a Scottish phrase for pale, they are too skinny and limp.
-

Final Colour Combinations
These are my final choices for colours and beads for my toothpaste bonds.
-

Glow-in-the-dark beads
I’ve added some glow-in-the-dark beads, which appear clear in daylight, as Strontium is used in glow-in-the-dark products, so hopefully my sculpture will have a nice surprise to it.
Now onto the Crystal Lattice Structure of Strontium Carbonate - SsCO3 - which is made up of 4 Strontium atoms, 4 Carbon atoms and 12 Oxygen atoms
-
Bead Selection
For my atoms, I’ve chosen a red colour palette, as Strontium is used to give fireworks their red colour. I’d like to make the neutrons look like they’re exploding outwards, like a firework.
-

Half Tila Technocluster colour palette
For the centre of my strontium and carbon atoms, I’ve chosen a pattern by Cindy Holsclaw called Half Tila Technocluster, which makes a solid bead with 12 holes in which will be a good base I think.
-

First later complete
This pattern is very clever and makes such a good strong bead. I’m trying to use the darker colours in the centre, with lighter on the later layers to give it more depth
-

Finished carbon atom
I love this bead! The holes in it are perfect for connecting the whole piece together. I think Im going to have these as my four carbon atoms.
-

Different colour combinations
Left is a matte colour way, and right is a shinier colour way. The left, to me, has more depth so will go on to be the centre of my neutrons, which I also need four of.
-

Assembly line of one
I love seeing these beads in their different stages - the pattern is really so clever!
-

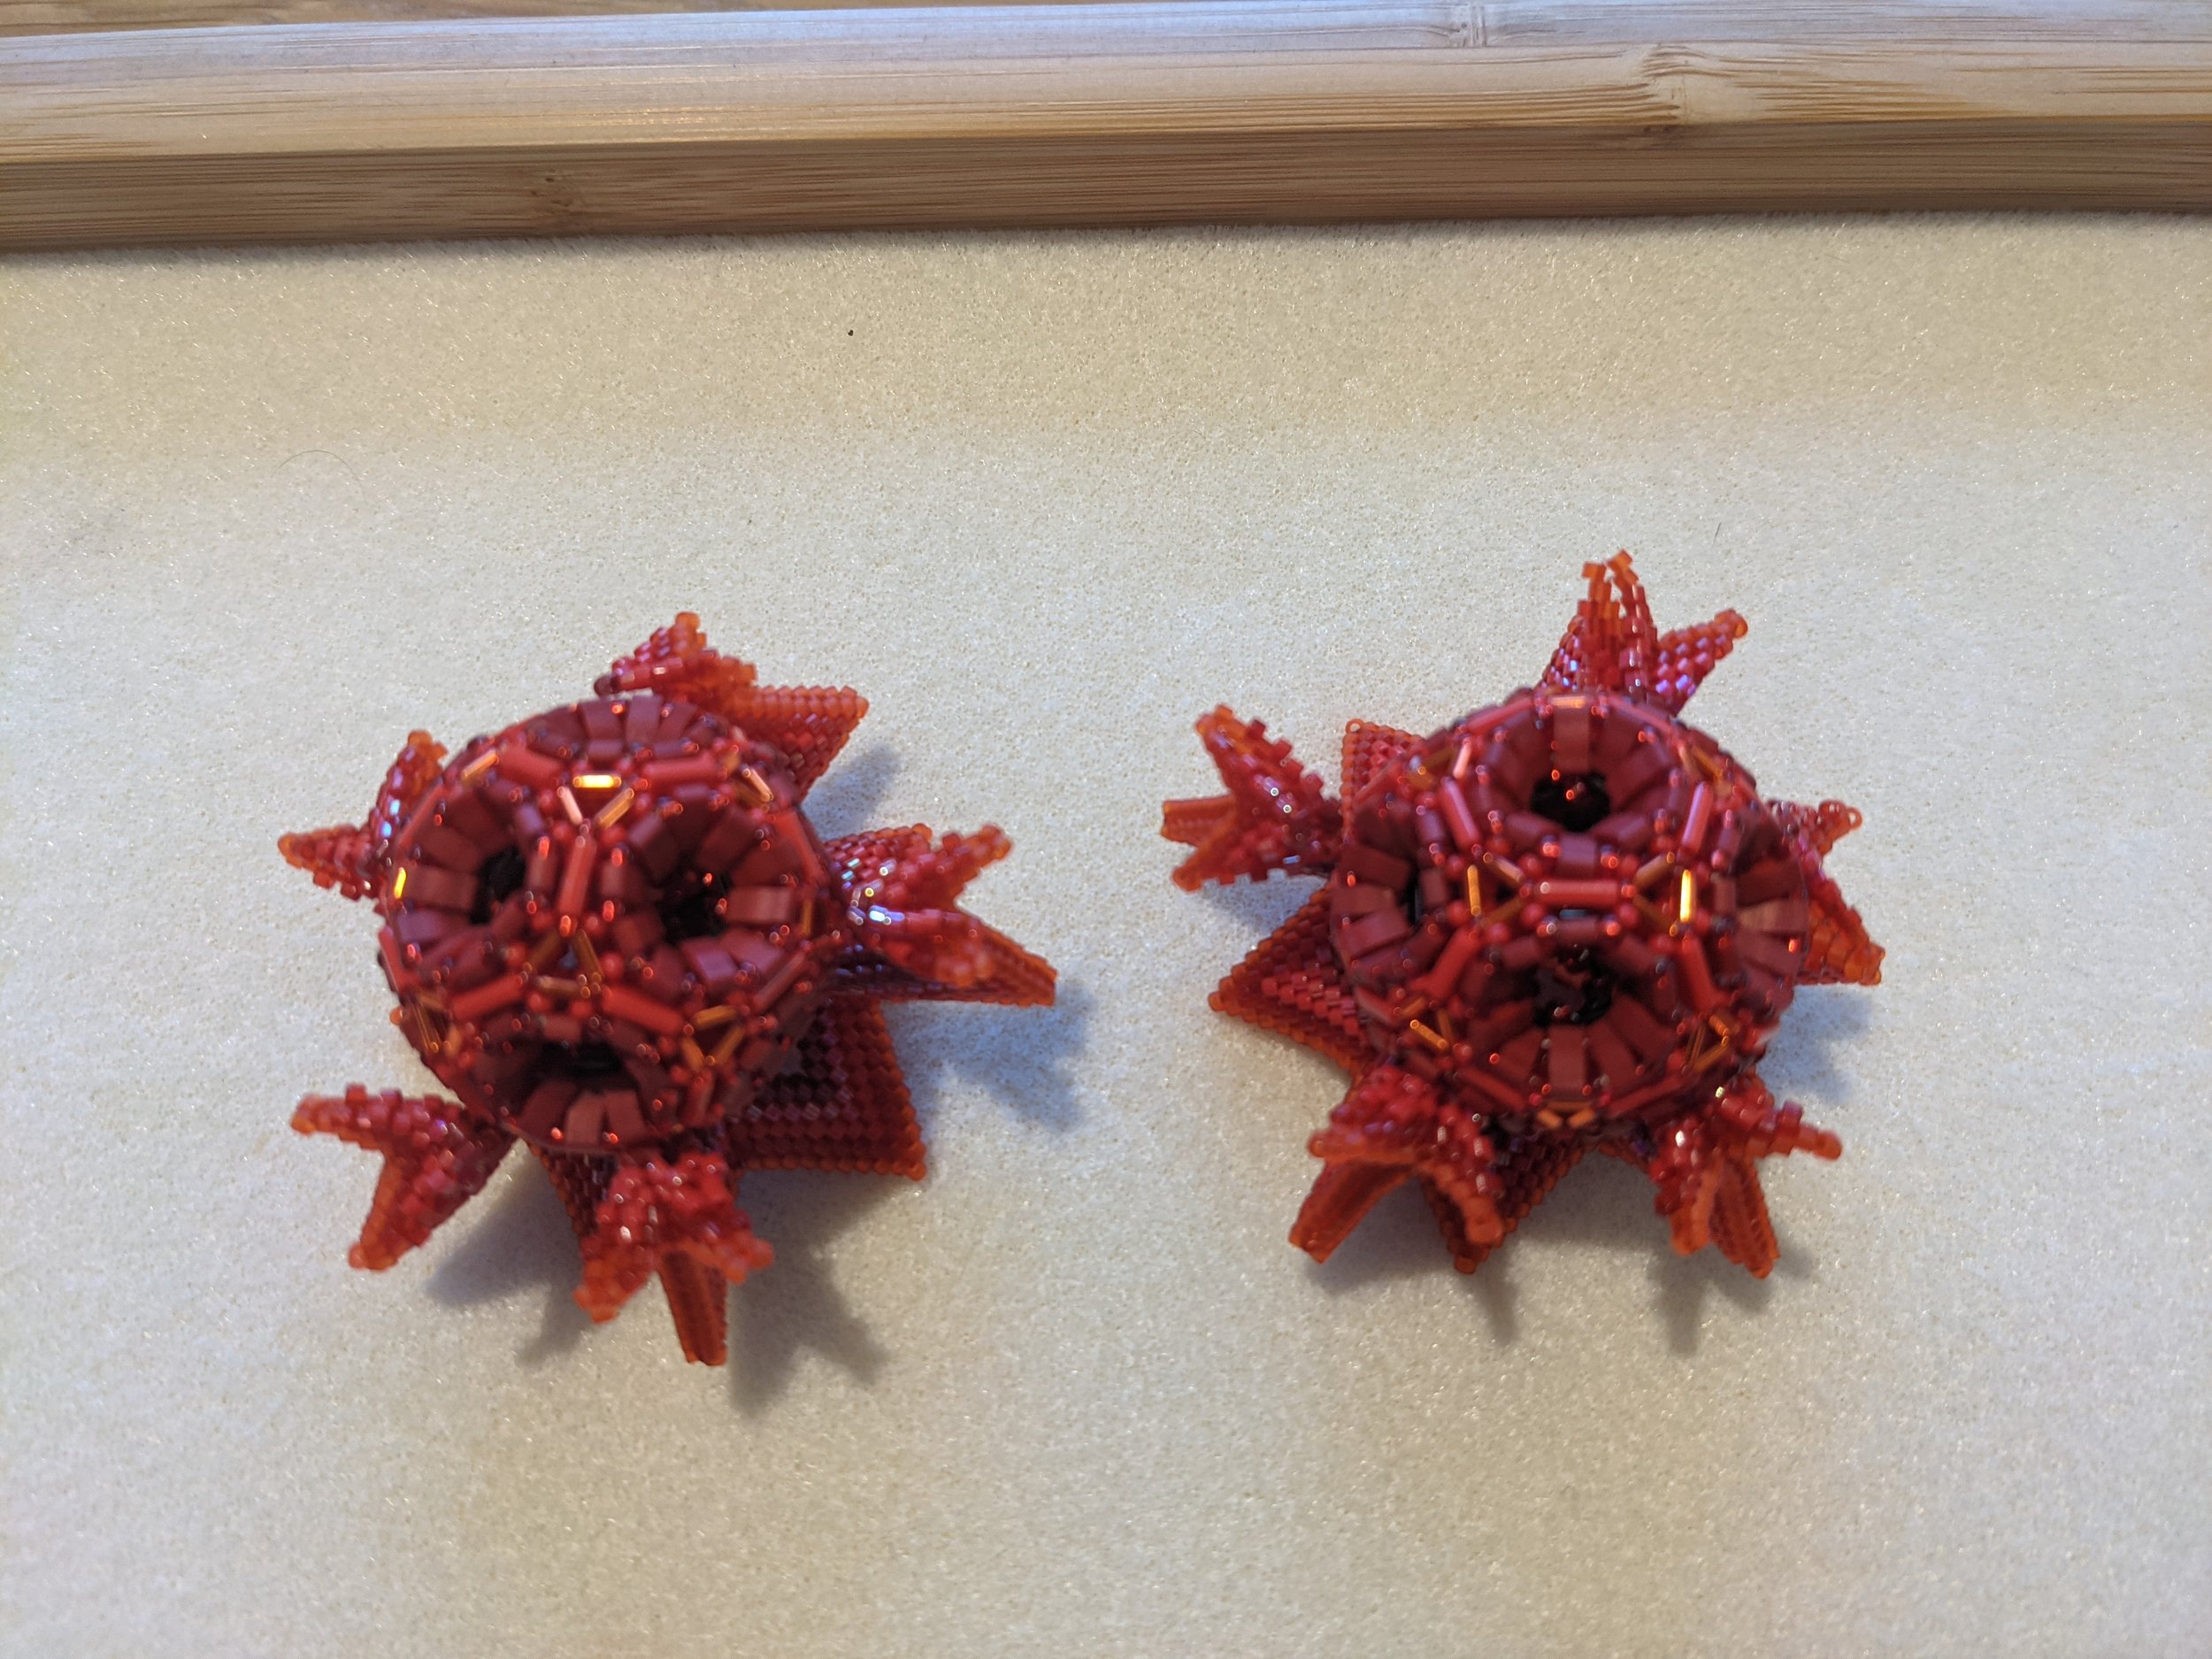
Sunburst Strontium
The pattern I’ve chosen for the strontium atoms is the Sunburst pattern by Patricia Verrier - I’m convinced this will fit over the neutron centres and give an appearance of an explosion like a firework.
-

Different colour combinations
Each sunburst has 20 components, all which need joining in an exact way. I’ve tried to again add depth with my colour palette, using darker beads in the centre and lighter on the outside edges
-

Checking the fit
I really think this will work. Both patterns are based on a dodecahedron and should fit together pretty perfectly.
-

Progress
Its exciting to begin to see how it will look when finished.
-

Sunburst Skeletons
Trying to keep track of how many of what component I’ve made is proving tricky.
-
Starting to assemble
Getting there, slowly but surely
-

a finished strontium atom
It fits together pretty perfectly!
-

details
I’m so pleased with this, its exactly what I pictured
-

Many more to go
its repetitive, but also fairly meditative
-

Oxygen atoms
For the oxygen atoms, I’ve chosen a clever truncated isohedron tutorial by Murarusa Beadwork - its fairly quick but uses three tube beads for each ‘edge’ so should also be quite strong
-

the net
A combination of hexagons and pentagons, its very clever but easy to go wrong
-

smaller or larger
the dodecahedron on the left is too small, but the truncated isohedron on the right is perfect - proportional to the protons and neutrons but also retaining the hollow quality I like. 11 more needed…
-

full scale production
Now I’ve got all my ideas (hopefully) finalised, its just a case of buying beads and then using beads.
-

toothpaste ribbons
A nice wee break back to the toothpaste ribbons in-between beaded beads
-

close call
It looks like I bought just the right amount of thread for this project.
Assembly Stage
-

Stick and ball model
I bought a chemistry stick and ball model kit so I could visualise more easily the process of assembling my piece - realistically, the bonds may not be in exactly the right place but it should help.
-

first glue
I decided to use the actual bonds from my modelling kit as a base as they were sturdy, I knew they were the right length and the fitted perfectly into the holes in my beaded beads. Serendipity.
-

Oxygen to carbon
Each carbon atom has three oxygen atoms around it, so I started with these
-

Adding toothpaste
To get an idea of how the piece would look, I started adding the toothpaste ribbons. I was also trying to work out if these needed adding in as I went, or after the fact
-

no more toothpaste
I really didn’t like the toothpaste on the model. This was a really gutting discovery but the blue was too jarring with the reds, and the fluidity of the Cellini didn't match the crispness of the geometric beads.
-

mid-glue
A balancing act from start to finish
The finished piece
-

-

I’m really happy with how this turned out. Although some of my initial ideas had to be scrapped, I think its all the better for evolving through the process.
-

Details


With special thanks to:
-

Cindy Holsclaw - Bead Origami
For allowing me to use her Half Tila Technocluster pattern. Her beaded art is so beautiful and intricate.
-
Patricia Verrier - Bead Mechanics
For allowing me to use her Sunburst pattern. Patricia’s patterns are incredibly clever and definitely worth checking out
-

Marina Murarisa Poplaukhina - Murarisa Beadwork
For allowing me to use her Truncated Isohedron tutorial. Her instructions were so easy to follow and I’d recommend this pattern to anyone.

And also to Cath Thomas, for teaching me her flat diagonal Cellini Peyote stitch - Cath’s work can be seen at https://caththomasdesigns.indiemade.com
Thank you to Dr Alison Taylor and Dr Katie Reynolds for help with the chemistry side of the project.
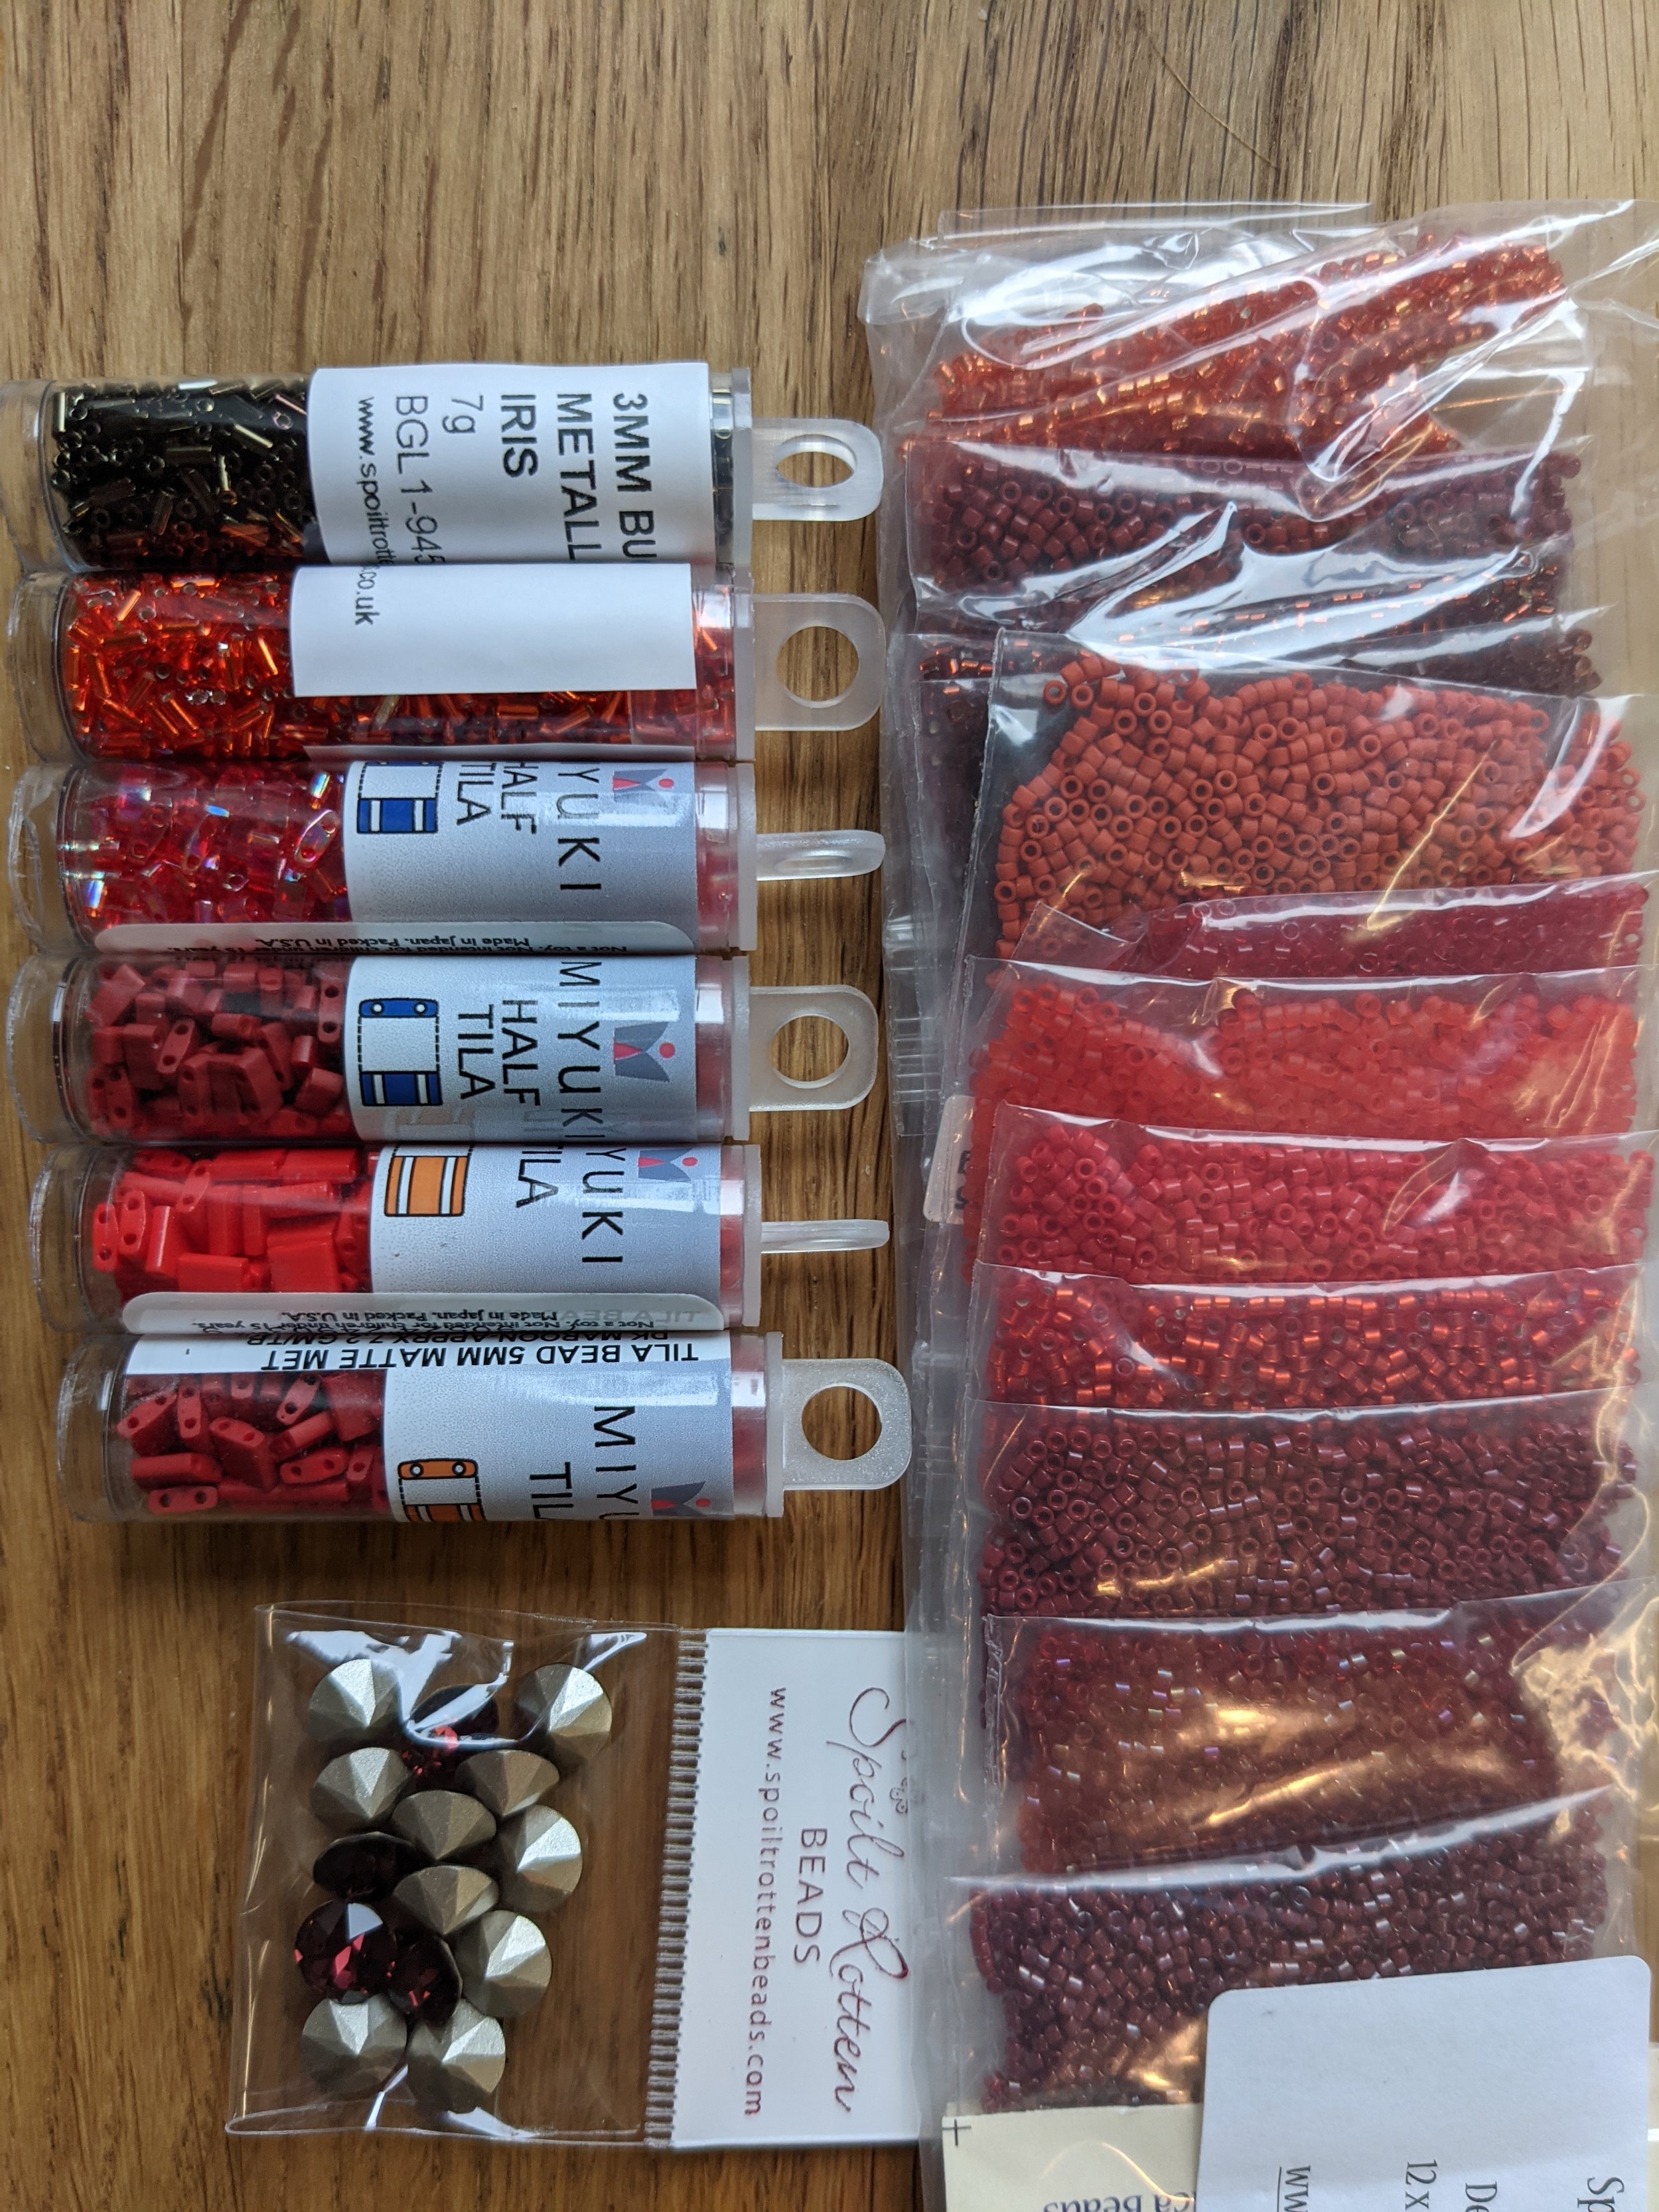
Beads used in this project were from:
Spellbound Bead Co - https://www.spellboundbead.co.uk
Spoilt Rotten Beads - https://www.spoiltrottenbeads.co.uk
And finally, thank you to the EU Northern Periphery and Arctic Programme, UHI and Robert Gordon University for funding this project.
